The main cause is the join between the front and back half of the fuselage. As with all Old Crow pieces, the surfaces were sanded perfectly flat, but unfortunately at a slight angle. This meant that the assembled hull seemed to curve slightly to the left (when viewed from the back). I solved this by putting a blob of ProCreate putty between the pieces and aligned them properly. When the putty cured, I filled in the rest of the gap with more ProCreate, as well as some Vallejo Plastic Putty (by the way, I'm not paid to drop product names, I do it for the benefit of readers who might be unaware that such materials and tool exist). I didn't get it absolutely perfect, but at least now the curve is slight enough not to be obvious at a casual glance.

Another thing I did early on was to clip away the rather unimpressive chin gun and replace it with a spare gatling gun that came with one of Old Crow's tank turrets. I pinned the new barrel and fixed the gaps with ProCreate.

A view from the front reveals the downward slope of the wings. The mounting spots have a bit of flexibility, so to get the angles symmetrical I bonded all the pieces with ProCreate and a bit of superglue. Before anything cured, I made sure the ends of both wings were resting on the floor at a right angle.

To add some potential flexibility to the lander's loadout I decided to magnetize the cargo compartment. After unsuccessfully trying a few other methods I ended up just drilling a 6mm hole in both ends and placing a single rare earth magnet in each (I initially wanted to avoid doing it this way because there was no surefire way to align the holes. Luckily I got it right.)

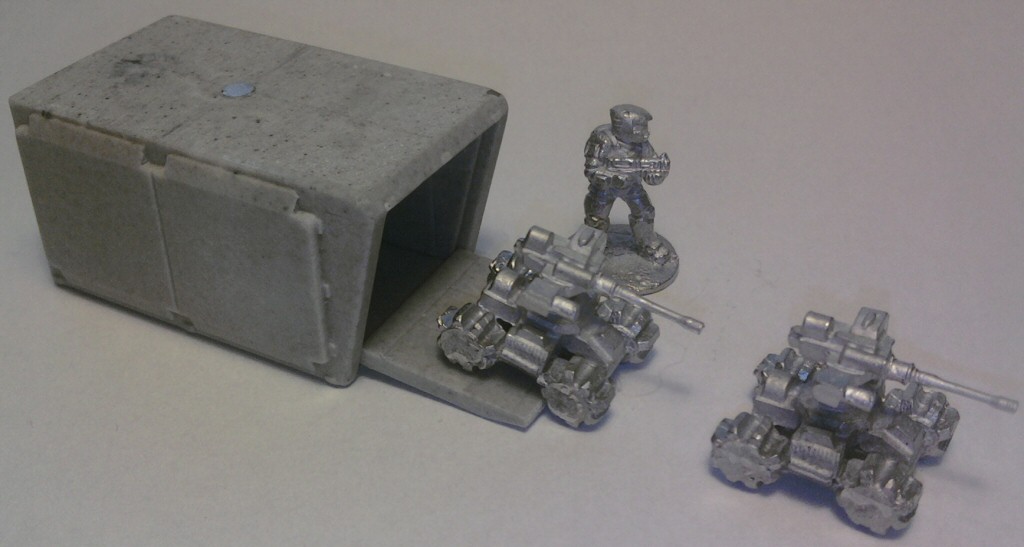
The cargo compartment itself is pretty neat, it's actually hollow and the ramp can be glued closed or opened (although the latter option would be uncomfortably fragile, I think). The size is nice, it could believably fit 10 soldiers in full gear, although they would not be very comfortable. It's also a good fit for two of these GZG drones.
A view without the cargo pod. I used a thin piece of plasticard (0.3mm, I think) to cover up the raw sanded backside of the cockpit piece. The lander looks reasonably airworthy without the pod and is slightly reminiscent of the Carryall from the old Dune games. You can also see the metal thruster bits here - I'm not quite sure why these were made in metal; I imagine it has more to do with balancing the mass of the model than with adding any real detail compared to casting the same thing in resin.

Finally, a scale shot with a GZG infantryman and an Old Crow Slingshot AFV. The lander straddles a happy middle ground between being unrealistically small and impractically large. If it were up to me, I would make the cockpit a little bit smaller (it's unnecessarily roomy) and the cargo compartment a bit larger.

That's it for now. I initially felt like this model needed a fair bit of effort to get right (and I still have some gap filling left to do) but then I realized this is mostly due to the rest of the Old Crow line requiring waaay less work than your typical resin model while the lander is just about average in that respect. I can still heartily recommend Old Crow, lander included, to anyone interested in building a 15mm army.
No comments:
Post a Comment